Showing posts with label gluten free recipe. Show all posts

January 11, 2021

Recipe: Salted Coconut Chocolate Chunk Cookies (Vegan & Gluten Free)


Every year, starting the week before Christmas I partake in my annual cookie week. I usually make around 5 kinds of cookies, barks, and fudge and bring them to all holiday parties and even give them away as gifts to teachers and friends.  I love baking, my family loves sampling, it's just a fun combination of tradition and me perfecting my annual favorites year after year. This year was a bit different. We have been making gluten-free cookies for 10 years now but this was the first year I wanted about half to be gluten-free and also vegan. Long story short, I mixed it up the line-up this year trying 4 new cookies, a tweak to a bark recipe, and 1 of our all-time favorites. You guys, it totally paid off! Everyone, and I mean everyone agreed these were the best cookies ever and I think we've found a new starting line up! Because I am me, I tweaked each recipe to fit my family's tastes and dietary needs, and that is the recipe I will be sharing with you today. The original recipe is called Vegan Chocolate Chunk Cookies and they look fantastic! I couldn't wait to try the recipe out for myself. 

*Helpful tip* This recipe calls for the dough to be placed in the refrigerator for 6 hours (up to 24 hours) prior to baking. 


INGREDIENTS

2 cups gluten free flour

1 tsp baking powder

1/2 tsp fine sea salt

1 cup dairy free dark chocolate chunks or chips

1 cup raw sugar

1/2 cup plus 1 tbsp coconut oil 

1/4 cup plus 1 Tbsp water

1/2 tsp vanilla extract

Flaky sea salt (I simply used a sea salt grinder)


INSTRUCTIONS

1) Chop chocolate into uneven pieces. I used the rock chop method on my cutting board. Set aside.

2) Whisk together the flour, baking powder, baking soda, and salt in a large bowl. Add the chocolate to the flour mixture and toss to combine. 

3) Combine sugar, oil, water, and vanilla extract in a separate large bowl and whisk briskly until smooth and incorporated, about 2 minutes. Break up any sugar clumps. 

4) Add the dry mixture to the wet mixture. Stir with a wooden spoon or a rubber spatula until just combined with no flour visible. Do not over-mix.

5) Cover with plastic wrap. Refrigerate the dough for 6-24 hours. Do not skip this step. 

6) Preheat oven to 350 degrees. Line two baking sheets with parchment paper. Remove the dough from the refrigerator. With an ice cream scoop, portion the dough into 2 tbsp mounds. 

7) Arrange the dough balls on the baking sheets. Sprinkle with sea salt.

8) Bake for 10-12 minutes, turning once to ensure even cooking. Do not over bake.

9) Cool on wire rack. Store in an air-tight container.


These turned out fantastic and became an instant family favorite! Please leave a comment when you try this recipe and let me know how it turns out! Stop back soon as I will be posting the other new recipes I tried the year as well.

 Do you make the same holiday treats each year, or do you mix it up? Thank you for stopping by the blog today. I hope you make it a great day! xoxo

September 19, 2020

Recipe: Apple Pie - Vegan & Gluten Free


Fall has always been one of my favorite seasons for many reasons, one of them being all the delicious apple and pumpkin recipes. I found this recipe on the food blog Vanilla and Bean and I have made it twice in the past six weeks. Yes, it is that good! It is time consuming, but worth every minute I promise! These are photos from my 1st attempt, my second time make it, I didn't have enough coconut oil so I substituted for 1/2 coconut oil, 1/2 avocado oil and it still turned out. The cook time was 5 minutes longer, but still very good! 


Ingredients:


Directions: 

Click here for official directions. Traci over at Vanilla and Bean really put a lot of work into this recipe. Her instructions are extremely thorough and you can tell she really perfected this recipe before she put it out for the world to try. It tastes like it too! I usually post the full recipe when I find one I love, but there is really so much information to read though, I don't want to edit her vision for it. She has tips on her favorite apples to cook with & suggestions of how to store, warm, and freeze the pie.  You really should read though all of it!


Below is a photo of my second attempt making this yummy recipe. The apples were very ripe on this one, straight from the orchard the day before, so the center was almost apple sauce-like by the end.  Plus I used different oil in the crust, but again, totally worth the time. It's my most favorite apple pie recipe and that includes ones with gluten and butter you guys!


Do you have a favorite apple pie recipe? Please post it in the comments section, I'd love to try! Is this a recipe you think you'll try? It really is worth the work. 

Thank you so much for stopping by the blog today. I hope you make it a great day! xoxo

September 18, 2020

Recipe: Slow Cooker Apple Sauce


Last weekend it was rainy and wet, so instead of going apple picking like we had planned, we decided to just stop by the orchard and pick up some apples. There is still lots of season left, so we'll just try again later in the month. If you are like me, you love cooking and baking and an extra trip to the orchard just means more apple recipes to try! 

 I decided to split the apples we picked up into three piles. The first group efor apple sauce, the next for apple butter, and the remainder for apple pie. All three were super delish, so today I'll be sharing the apple sauce recipe, tomorrow I'll share the apple pie recipe, and you can find my apple butter recipe here, which I posted two years ago. 


Ingredients: 

-16 apples 

-1/2 teaspoon of cinnamon (more if desired)

-1 cup spring water

-1 teaspoon of vanilla extract


Directions:

1) Peel, core, and slice apples and place in slow cooker. 

2) Add ingredients together.

3) Cook on low for 4-6 hours, masking a few times with a potato masher. 

4) Store in a sterilized mason jar of container of choice. 


I usually store my apple sauce and apple butter (also any jams and jellies I make) in mason jars. I recently began saving any reusable containers around the house and have found they come in super handy. Below is a container from organic apple sauce I bought at our local grocery store. I cleaned it, sterilized it, and filled it up with some of the apple sauce I made in this batch! 


So that's it. This super easy recipe is sure to make you family, friends, or just yourself very happy! Make sure you stop back tomorrow for my apple pie recipe (vegan and gluten free!). 

Thanks so much for stopping by the blog today. I hope you make it a great day! xoxo

August 2, 2019

Recipe: Banana Nut Pancakes (Gluten Free)


O-M-G you guys, I have a super yummy recipe to share with you today. These pancakes were the biggest hit in my home and as soon as I shared a photo in my IG stores, my DM box filled up with messages asking me for the recipe. So, here you go! I found a version of this recipe on the Centr app, but I altered it to fit my families dietary needs and tastes. Below is my altered recipe for gluten free banana nut pancakes. 
February 17, 2016

Recipe: Chicken & Bean Stew

I am forever on the hunt for new recipes to try and get my family eating right. I found this one in a Nature's Promise magazine in my latest Peapod order and had to try it right away! I did make a few tweaks, and since I loved it my way, I am going to share my altered recipe with you today. 

Here is what you will need: 

Ingredients: 
Cooking spray of choice (I love coconut oil spray)
12 oz boneless, skinless chicken breast
1/2 bunch organic kale
3 cloves garlic, chopped coarsely 
3 cups cooked white beans or 2 cans
1 (14 oz) can diced tomatoes
1 tsp dried organic thyme
1/4 cup roasted, unsalted whole almonds, roughly chopped


Directions: 

1) Preheat oven to 400 degrees. Spray a 13x9-inch backing dish with cooking spray.
2) Cut the chicken into 1/2 inch cubes. Chop kale and garlic. Drain beans. Add chicken, kale, beans, tomatoes, with juice, thyme and garlic to the baking dish. Season with salt (in moderation) and pepper and stir to combine. 
3) Bake 30 minutes (until hot and bubbling). Divide the into four plates and sprinkle the top with almonds. Serve! 


I have to say, the almond crunch was amazing. I loved that my kids (and hubby) actually ate kale, beans, and tomatoes with their chicken. I'd say this is a must try for your winter recipe rotation. I can't wait to tweak it a few more times and try different ingredients to make it seasonal with what is at the local farmers markets this spring! 

Is this a recipe you will try? What is your favorite way to get kale into your dinners?

February 1, 2016

Recipe: Bacon & Spinach Frittata

I recently tore a few recipes out of a magazine for paleo lifestyle diet and this was one of them. Sadly I don't know the name of the magazine to credit it too, but I altered 4 items/steps to make it my own so I think we are OK. ;) 

This recipe was such a crowd pleaser in my house, I ended up serving it for dinner! I would for sure alter the bacon to spinach ration to meet your families tastes. 


Ingredients 
6 eggs 
5 slices of bacon
1 cup organic spinach
2 cloves garlic, minced 
2 sprigs organic oregano 
1/3 cup coconut cream (from top of 1 can coconut milk, chilled)
sea salt and pepper to taste


Directions 

1) Using your large skillet pan, fry bacon slices (flipping once) until cooked fully. Remove from pan and crumble it. 

2) Chop spinach coarsely. Beat the eggs with salt and pepper. Add spinach and garlic. Remove the leaves from the springs of oregano. Mix the bacon, oregano and coconut cream into the eggs. 

3) Heat the oil in a large non-stick frying pan (can use bacon oil or extra virgin olive oil) and add the egg mixture. Cook until the frittata is almost set on top, about 10 minutes. Place under the broiler in the oven and cook until top is puffed and golden brown, about five minutes. 


Is this a recipe that you would try? Do you have a great frittata recipe? I'd love for you to share it in the comments! 

December 1, 2015

Recipe: Greek Goddess Chicken

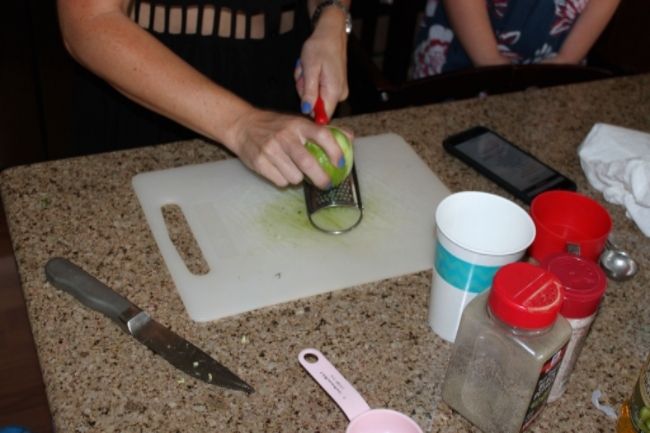
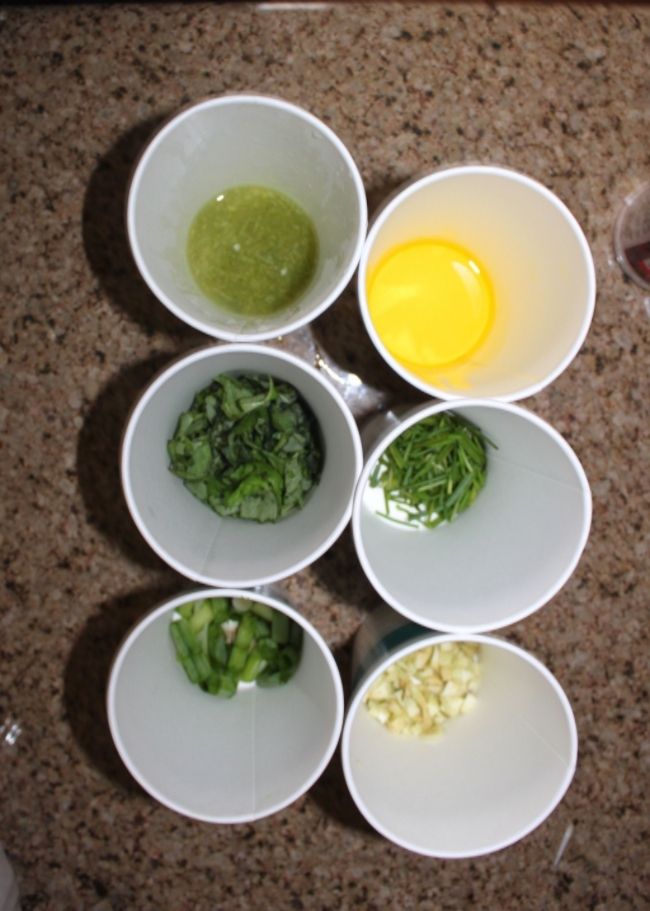
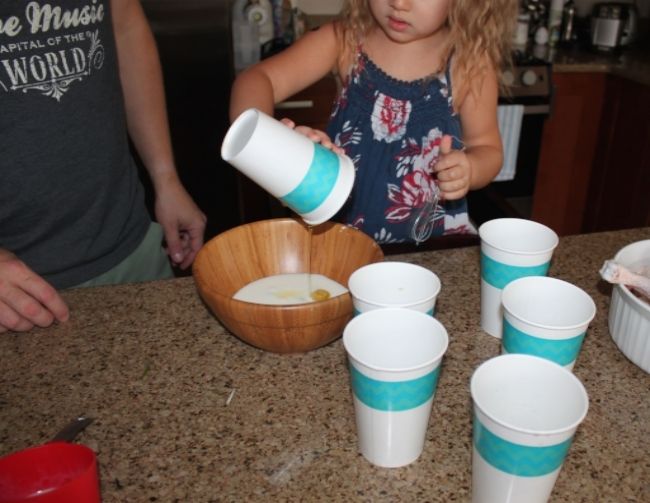
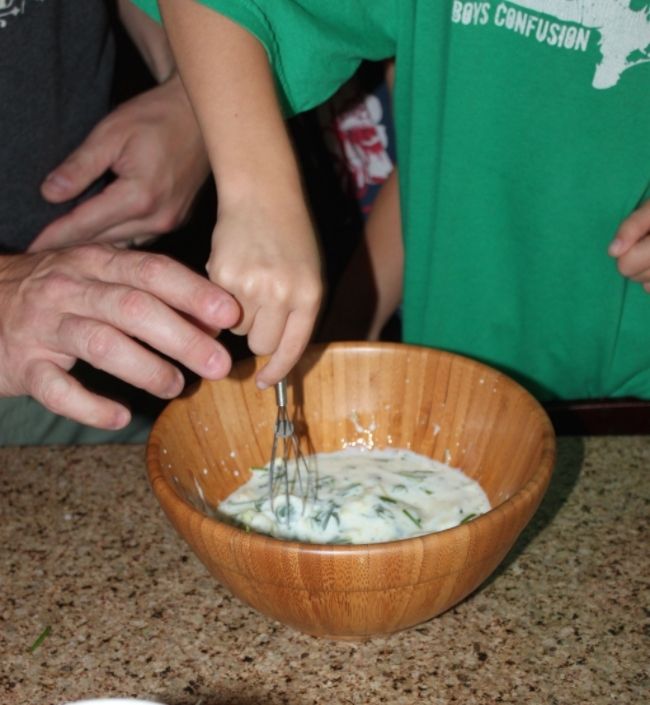
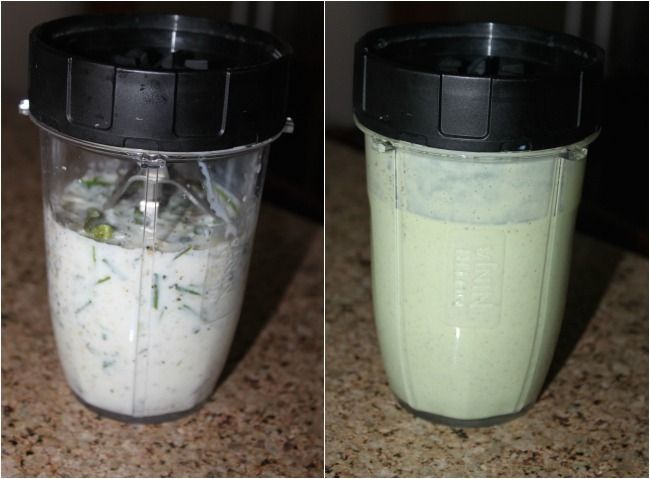
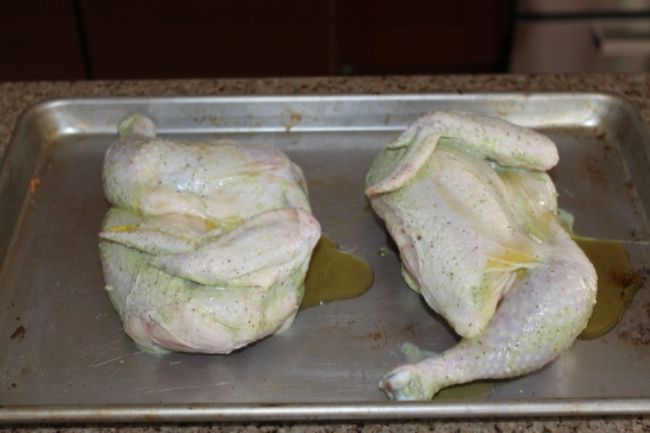
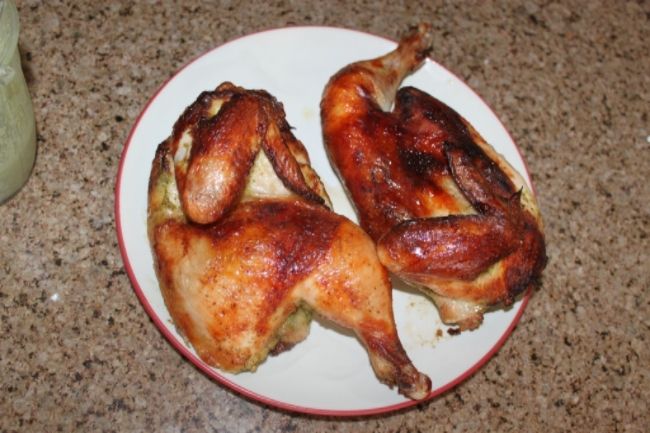
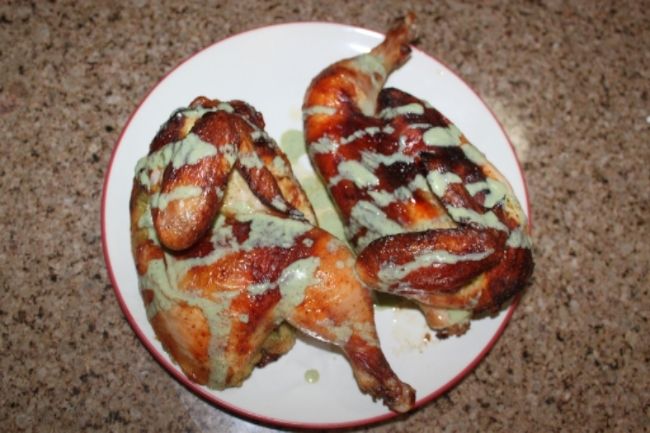
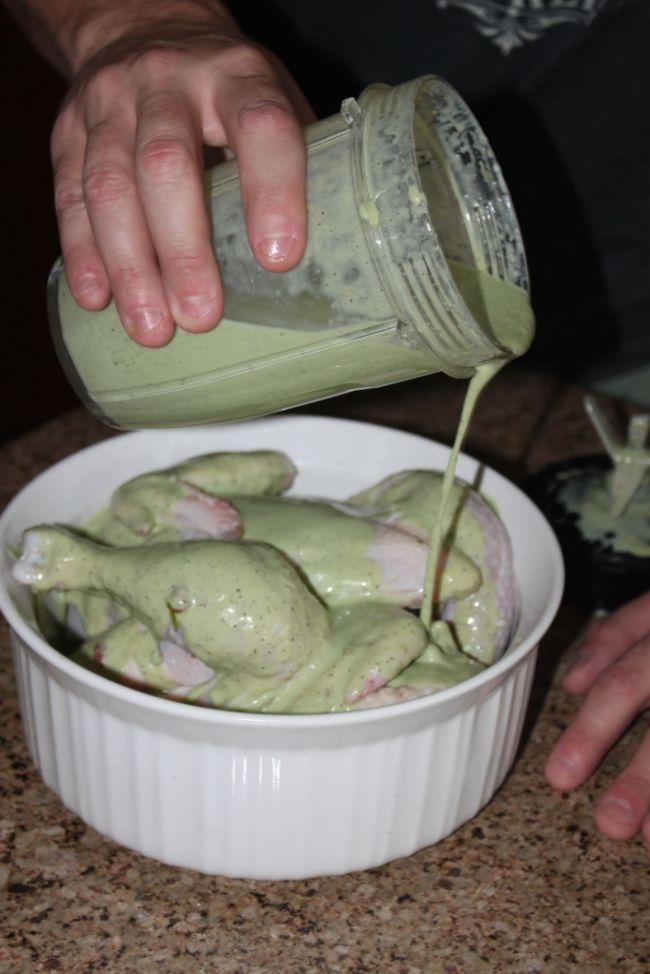
We are a family that loves cooking together and this recipe we tried at the end of the summer blew our socks off. It is hands down my favorite chicken recipes we have made to date (yeah, it's that good you guys!) and the kids agreed we must cook it again soon. Thank you New York Times Cooking for not only highlighting this recipe, but adding a video for step-by-step. Having that video was really helpful for not only the kids but also the adults as I could not figure out how to do one of the steps without it. I have personally never cut a whole chicken in half (down the center), and doing that gives you a new appreciation for how much work goes into the healthy food we choose to create for our family. 

I give you Greek Goddess Chicken:    photo IMG_5070_zpsf1pibazw.jpg  photo IMG_5074_zpsqlvhme5c.jpg  photo IMG_5075_zpsvy0n9kjz.jpg  photo IMG_5090_zps32esvdmw.jpg  photo recipe_zpsspb3r8g9.jpg 

INGREDIENTS

  • 1 ½ cups buttermilk or plain yogurt
  • 1 cup packed basil leaves
  • ¼ cup packed chives
  • 2 garlic cloves, peeled
  • 2 anchovy fillets (optional, we did not use)
  • 1 scallion, white and green parts
  •  Finely grated zest and juice of 1 lime
  • 2 teaspoons coarse kosher salt
  • 1 teaspoon black pepper
  • 1 (4- to 5-pound) chicken, halved through the breast and back bones, patted dry with paper towels
  • 1 to 2 tablespoons extra-virgin olive oil, for drizzling

 photo IMG_5099_zpsanpc6nwq.jpg  photo IMG_5102_zpscumbe3or.jpg  photo IMG_5103_zpskrlpmyx1.jpg

PREPARATION

  1. In a blender, purée buttermilk, basil, chives, garlic, anchovies (if using), scallion, lime zest and juice, salt and pepper until smooth.
  2. Put chicken halves in a bowl or large heavy-duty resealable plastic bag and cover with three-quarters of the Green Goddess marinade. (Save the rest to serve as a sauce.) Refrigerate for at least 6 hours or up to overnight.
  3. Heat oven to 500 degrees. Remove chicken from the marinade, shaking off as much liquid as possible, and lay the halves on a rimmed baking sheet. (Discard the used marinade.) Pat chicken tops dry with paper towels and drizzle with oil. Roast until cooked through, about 30 to 45 minutes. Let rest for 10 minutes before serving, with some of the reserved sauce if you like.
 photo IMG_5104_zpsohza0w0w.jpg  photo IMG_5105_zpso1mqt8ro.jpg

Is this a recipe you would try with and for your family?

What is your favorite chicken recipe?

July 6, 2015

Recipe: Gluten Free Breakfast Bites

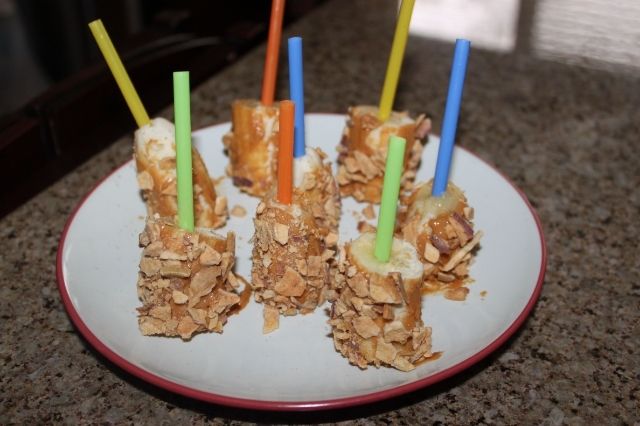
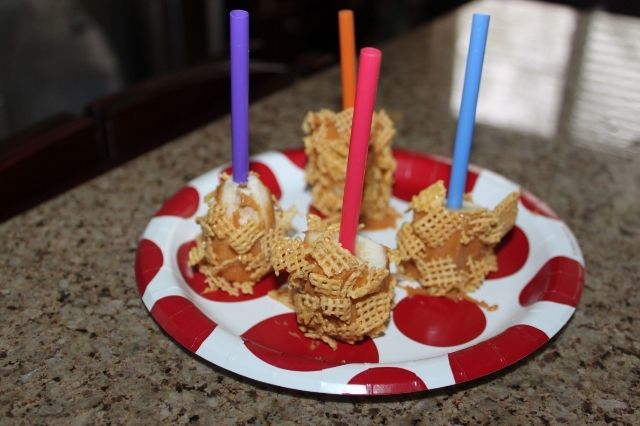
I was recently introduced to a new recipe via Kidstir. If your family is like mine, we are always looking for fun new breakfast foods to try and this one was too good to pass up. In true "us" fashion, we tweaked it a bit to fit our tastes and dietary needs.
Here is what you will  need:
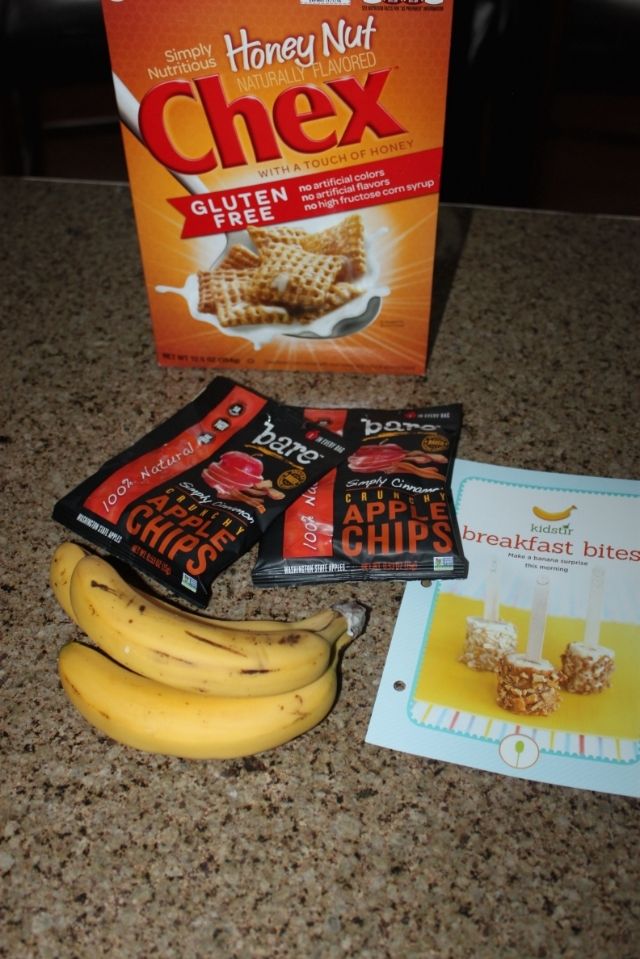
2 bananas
2 tablespoons honey, yogurt, or seed/nut butter of your choice (we used organic peanut butter)
1/2 cup apple crunches
1/2 cup cereal or granola
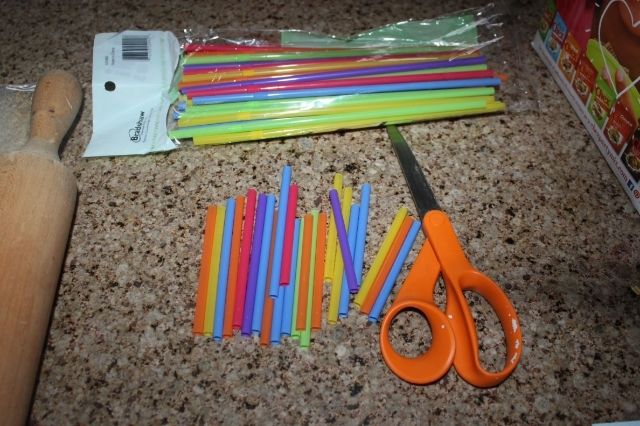
popsicle sticks (we used straws that I cut!)
 photo IMG_2281_zpsxhpu6zzb.jpg  photo IMG_2282_zpsdxqataao.jpg  photo IMG_2283_zpswbvgnq0n.jpg
1) Peel each banana. Cut off the end and lay them flat on a plate or cutting board.
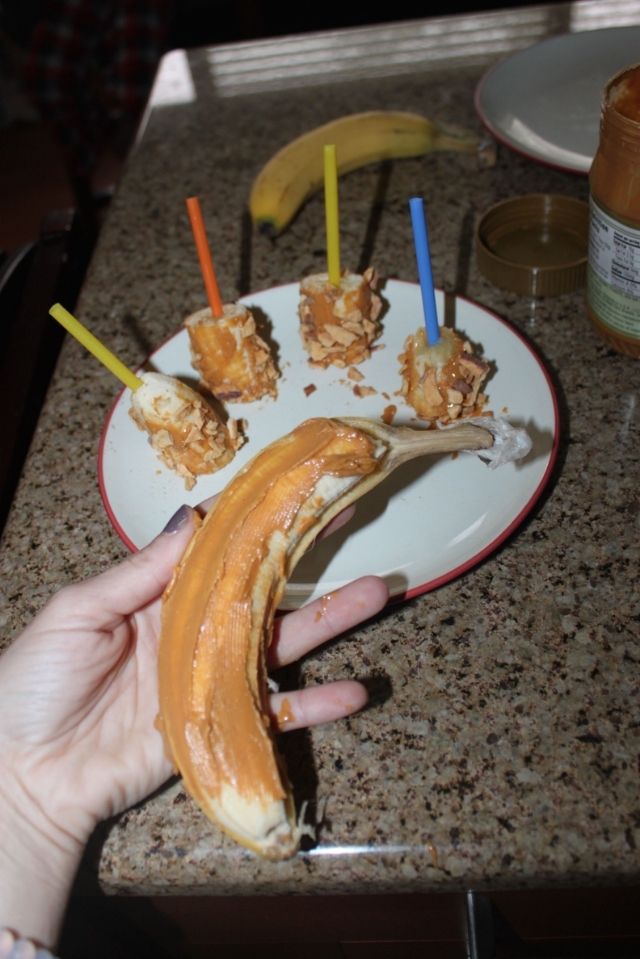
2) Use a knife to spread a thin coat of the peanut butter (or whatever you want to use) on all sides of the banana.
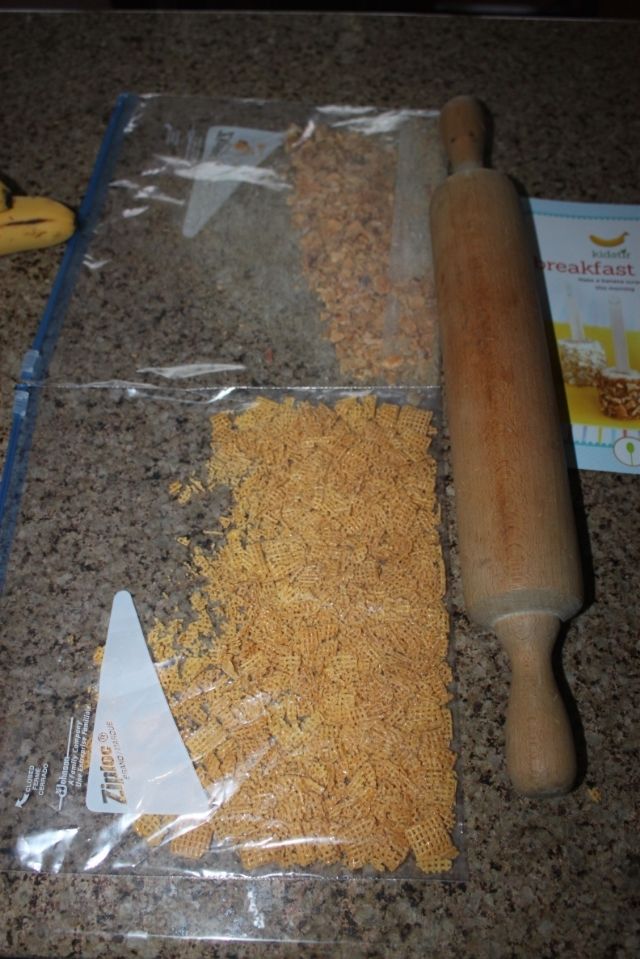
3) Use a rolling pin to crush the apple crunchies and cereal in Ziploc bags. Pour the crumbs onto a plate.
4) Sprinkle a topping over each banana, rolling it so all sides are coated.
5) Cut the bananas into bite-size pieces. Add popsicle stickes or in our case, straws into the top of each and serve! 
 photo IMG_2284_zps87pmsb2j.jpg  photo IMG_2287_zps3eox0ykc.jpg  photo IMG_2288_zpsn0af3kgo.jpg
My kids are obsessed with these and honestly, so am I! They were fun and easy to make with the kids help and everyone really loved them.
What are your favorite breakfast treats? Have you ever tired something like this recipe before?